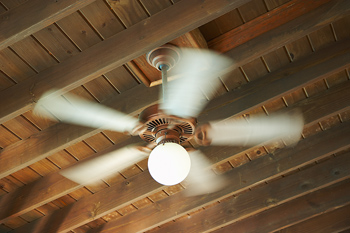
How to Install a Ceiling Fan
With global warming our summers are becoming hotter and with air conditioning being such an expensive solution, many households are seeking help for how to install a ceiling fan in order keep their homes cool. Some people may think that you need to be an electrician to install something that looks so impressive, but this is not the case.
Ceiling Fan Installation
As long as you are careful and follow these five ceiling fan installation steps, you’ll have a cooler and more stylish home in no time.
Step one
The first step you need to take is to ensure that the power is switched off or else you will be on your way to A&E rather than installing the ceiling fan. Once this has been taken care of, completely remove the original model and disconnect the electrical wires. Ensure that you safely dispose of your previous fixture by taking it to the local skip.
Remove all the packaging from your new ceiling fan and ensure that you have all the correct parts that you need. Before installing, ensure that there is plenty of room of the blades to spin around. If the space is not clear this is an issue you will need to address.
Step two
It is now time to start installing your ceiling fan. Fasten the mounting bracket to the electrical box in the ceiling. You must ensure that all of your screws are extremely tight as the last thing you want is for the fan to come flying off the ceiling.
Step three

How to Install a Ceiling Fan
In order to make the wiring installation easier, use the ‘working hook’ (usually provided on the mounting bracket). This enables you to concentrate purely on the most technical part of this installation. Keep extra wiring out of your way by pushing it up into the electrical box. The easier the wiring process can be made the better.
If you are not sure about the wiring process, either ask a friend or read up about it online. There are simple rules to follow and so five minutes of research should solve this problem.
Step four
Now attach the fan motor onto the mounting bracket. Once this is done, place the decorative motor cover over the top to make certain a more aesthetically pleasing fan. With this done you can attach each fan blade onto the mounting bracket. As this can be quite a fiddly job, you will probably do best to ask a few people to help you out. It is now time to turn on the power and check that your handy work has been a success.
Step five
Turn on the power. Test the fan at every setting in order to fully ensure that it does not become unstable at any speed. You also need to check that the fan does not make any excessive noise. If you find that there is a problem it is best to work backwards and double check that you have done everything correctly.
